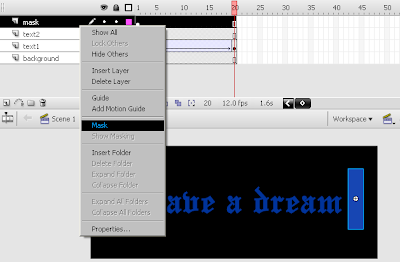
 2/ Use the rectangle primitive tool to draw a rectangle around the text. Dont choose stroke color, just choose the fill color. To get rounded corners, set the corner radius to an appropriate value. I used 15 degrees.
3/ With the rectangular object selected (make sure you select all four sides!), go to Modify > Shape > Convert lines to fill. Note the difference when selecting lines vs selecting fills.
Next we need to deal with the text. With the text selected, press Ctrl + B twice, to break the object into fills.
=> You will get the result like this:
 4/ Choose the erase tool to erase bits and pieces of our work. Just feel free to do so.
 5/ the Ink Bottle tool and start clicking away on the individual pieces you've produced from the erasing.
===> This is the final work. Very simple but impressive huh? ^^


